How to Remove Vinyl Siding
Safely remove vinyl siding yourself with this straightforward guide.
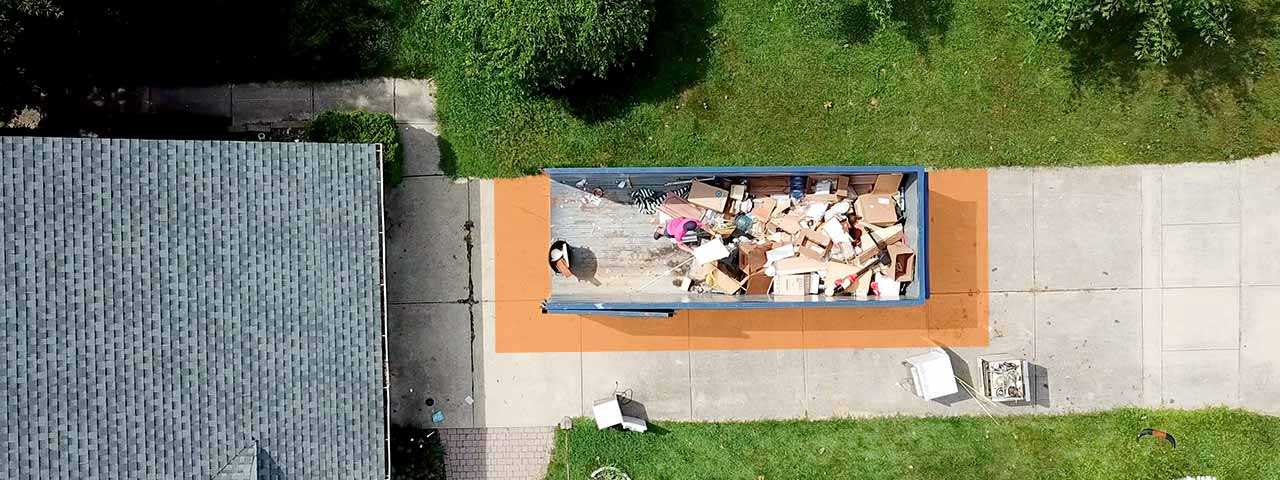
Make cleanup a breeze with a roll off dumpster:
DIY Guide to Vinyl Siding Removal
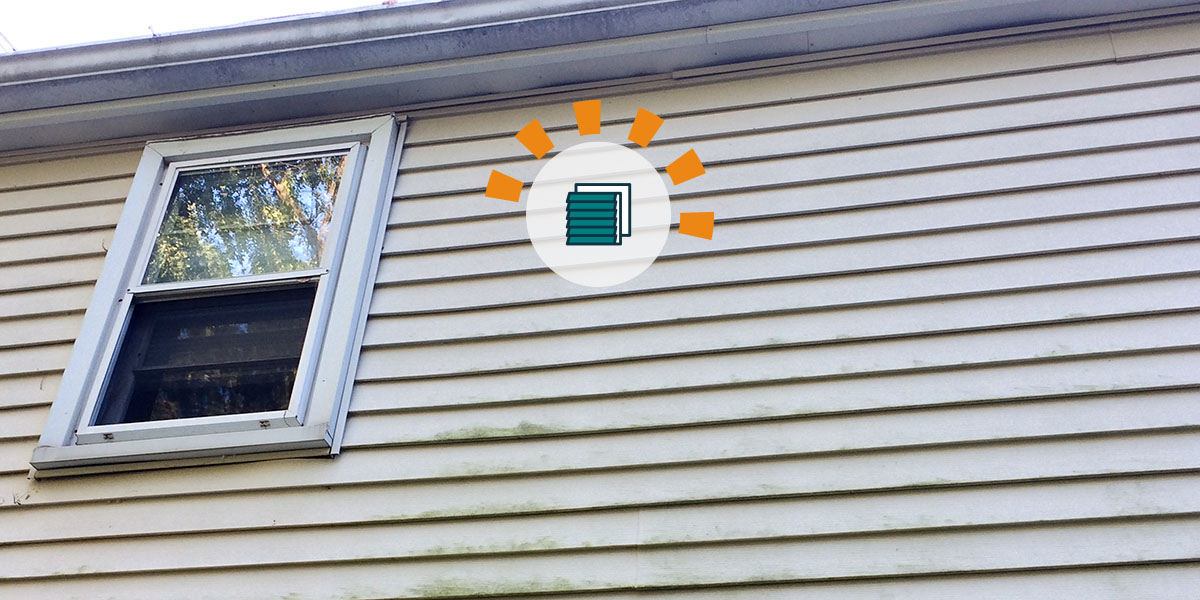
Is your house starting to adopt a shabby appearance? Irreversible damage to vinyl siding means it’s time for a facelift, but that can be costly. Even though vinyl removal can be a hassle, there’s good news—removing vinyl siding yourself is easier than you think!
Vinyl Removal FAQs
How much does it cost to remove vinyl siding?
DIY vinyl siding removal can cost $10-$500, depending on which tools and supplies you need. Temporary scaffolding can be rented for as little as $25 a day. The cost to remove, including other tool rentals and a roll off dumpster, typically averages $400.
In contrast, the cost to hire a contractor to remove old siding on your home can range anywhere from $1,000 to $3,000.
How do you know when you should replace vinyl siding?
If you notice evidence any or all of the following conditions, it’s likely time to update your vinyl siding:
- Wood rot underneath the vinyl siding.
- Moisture on the interior walls of the house.
- Cracking, warping or buckling of the actual siding.
- Holes in the siding panels.
- Increases in heating/cooling billing.
How long does it take to remove vinyl siding yourself?
It typically only takes a day or two to remove siding from an average-sized house. Factors like weather and house size can add or subtract from the timeline.
Can you remove vinyl siding without special tools?
The short answer is yes. You can use a heavy-duty paint can opener and a twisting motion to release the panel. However, for just $5-7, investing in a siding removal tool (or zip tool) will make for a quicker and easier job—especially if you’re removing most or all of your siding.
How long does vinyl siding last?
Vinyl siding typically lasts anywhere from 20 and 40 years. Its durability depends on several factors, such as:
- Brand.
- Weather.
- Sun exposure.
- General care and treatment.
Should I remove vinyl siding myself or hire a pro?
Starting a home project can be intimidating to some, but most often homeowners—even the beginners—have the ability to do these projects themselves, and save money in the process. The internet is full of DIY tutorials so how do you know if a project is doable for you or when you need to hire a pro?
Removing vinyl siding is considered a beginner’s task. However, understand that this project may not be for you if you suffer from back or joint pain, or have a healthy fear of heights. It’s also advised to remove vinyl siding in the heat so keep that in mind before you tackle it yourself (and drink plenty of water).
Order a Dumpster Online
Shopping after hours? Too busy to make another call? Book the dumpster you need, when you need it. Order your dumpster online 24/7.
The Easiest Way to Remove Vinyl Siding in 6 Steps
At first glance, your home siding can appear like an overwhelming task. However, you’re going to find out how easy it is to uninstall—no matter if the whole thing needs to go or just a damaged section—in this guide.
Any homeowner with the right tools, safety gear and patience can remove vinyl siding. It’s widely considered to be a beginner’s task, and here’s why:
- It only takes a single tool to unhook each panel.
- Many homeowners already have extension ladders.
- The labor is the same for one panel as it is for the whole house.

Pro Tip
Pick a warm day so the panels are easier to manipulate and remove.
Step 1: Prepare the Home
Thinking ahead about the weather, you'll want to snag these important vinyl removing tools and supplies before your project starts. It'll be easier to have them on hand when the weather cooperates rather than scramble to get to the store and rush the process.
Vinyl Siding Removal Tools and Supply List
Tools and Materials | Safety Gear |
|---|---|
Siding removal tool (zip tool) | Safety glasses |
Claw hammer | Work gloves |
Pincer pliers | Closed-toe shoes with sturdy soles |
Extension ladder or temporary scaffolding | UV protection |
Bucket (for nails) | |
Pry bar (optional) | |
Roll off dumpster* |
Need a dumpster to handle the mess?
Get a Price and Place Your Order Give Us a Call to Learn More
Step 2: Unlock Vinyl Panel
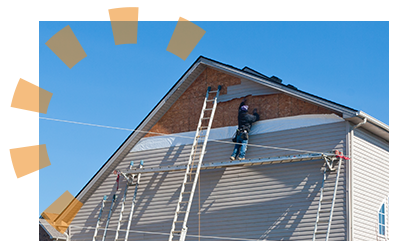
Vinyl siding is surprisingly easy to remove with little effort. Whether you’re going to remove it mid-wall or the entire side, you’ll want to start at the top and work your way down.
- Grab your gear and set up your extension ladder or scaffolding to the furthest side (right or left — doesn’t matter).
- Lift up the corner enough that you can insert the siding removal tool underneath the vinyl.
- Using the siding removal tool, pry the panel toward you so the bottom lip of the panel comes free. You’ll know you’ve done it right if you can fit your fingers in the gap.
- Remove the siding removal tool. You can use your fingers now to glide along the panel and free the lip all the way across. Be careful not to overreach. Stop to safely re-adjust your ladder as you go.
Unlocking Vinyl Panel Mid-Wall
Although similar to the process above, there are key differences if you are to remove vinyl paneling mid-wall.
- Unlock the vinyl panel above the section you wish to replace. (Otherwise, you won’t be able to remove the nails).
- Lift the panel above the damaged one so that your siding removal tool fits underneath and locks on. Keep in mind that it’ll be a little tougher than starting to one side.
- Pry back the vinyl with the siding removal tool so you can fit your fingers underneath. Then, lift it toward you so it comes free.(Don’t be afraid to tug). Continue along the entire panel until the bottom lip is free. You can also use your pincer pliers instead of your fingers.
Step 3: Slide Panel Over
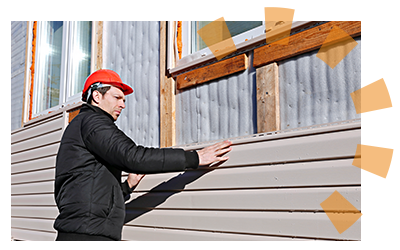
Now that you have your first panel pulled free along the bottom lip, pay attention to where the perimeter edges meet the wall, called the J-channel.
- Gently loosen the bottom of the vinyl corner so that it overlaps the vertical edge of your house. Doing it too harshly can cause damage to the perimeter.
- With both corners out and the bottom of the panel flapping loose on top of the panel below it, you’re ready to slide it out.
- Grab one side of the vinyl and slide it out.
- Bend it, then toss it aside for now.
Step 4: Remove Nails
Don’t be alarmed if there's a lot of gunk and debris build-up around the nails or along the top of the newly exposed panel. This is to be expected, especially if you’re removing old or damaged vinyl siding.
- Grab your claw hammer and bucket.
- Remove every visible nail and toss them in the bucket.
- If you have any stubborn nails that are difficult to remove, use your pry bar to take them out.
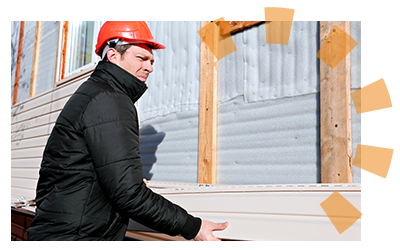
Step 5: Take Off Vinyl Panel
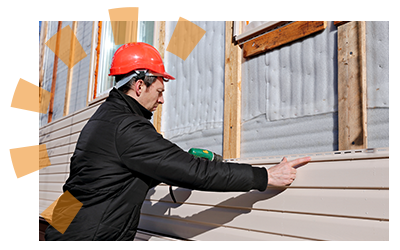
Here is the best part because it's the easiest and most rewarding:
- Unsnap the bottom of the vinyl panel so it’s loose.
- Simply pop it out and toss it aside.
- Repeat the step above on the next panel until all of the desired vinyl paneling is off.
Removing Vinyl Around Doors & Windows
Removing vinyl around any framework is no different from the rest of the house. You’re just going to notice there’s different material underneath the vinyl once it’s removed. Surprisingly, vinyl siding isn’t leak-proof, so this extra material prevents moisture from spilling into your house. Most likely, you’ll have heavy metal called flashing installed around your doors and windows. They’re typically installed with nails. Use your claw hammer or pry bar to remove them. Next, check the wood door and window trim underneath for any rot or other damage.
Step 6: Dispose of Vinyl Siding
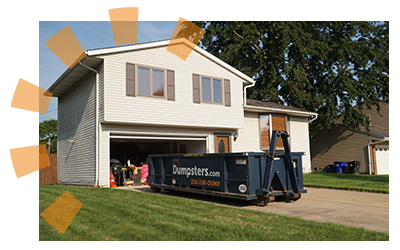
You can clean your vinyl siding with soap and water and reuse it, or donate it if it’s in good condition. However, if it’s damaged or at the end of its life cycle, it may not be recycled. In this case, renting a dumpster is a great way to get rid of the panels with little hassle. Most curbside pickups have a limit on the amount of debris they’ll pick up, and you’ll save yourself several trips to a landfill with a bin nearby.

Pro Tip
If you’re only removing a section of vinyl siding, remember to keep a piece to take to a siding distributor for the closest color match available.
Common Mistakes to Avoid
Using a pry bar instead of a siding removal tool
Removing panels in cold weather, when they’re most brittle
Starting at the bottom panel instead of the top
Removing nails before unlocking the panel
Overreaching instead of safely repositioning ladder
Assuming curbside pickup will accept old vinyl siding
Inspect the Framework of Your Home
Phew! You did it. The toughest part is over. Keep your extension ladder or scaffolding out because it’s time to inspect your house (especially if you removed your vinyl siding due to damage rather than old age). Regardless of the reason, don’t skip this important step.
You’re going to look for mold, moisture build-up, insects or insect damage, and general cracks or weakness that needs to be addressed before siding replacement. The last thing you want to do is go through the effort of installation only to have to remove it again so soon. And it’s even worse if you pay a contractor to install vinyl siding over impaired walls.
All set? Great. Ideally you already have replacement siding in mind, but if not, you’ll get to decide what you want to replace the old vinyl siding with—whether that’s the same material, new vinyl, brick, wood, fiber-cement, stucco, stone and stone veneer, or aluminum. The choice is yours—just remember to lean on a reputable contractor for advice or installation help.

Safety Tip
After you've installed your new siding material, make sure to keep your grill at least four feet away from the home to avoid fire hazards.
Other Sources
How Long Does Vinyl Siding Last? (May 10, 2019). Retrieved from Sunshinecontractingcorp.com
Knowing When to Replace Vinyl Siding. (July 2021). Retrieved from Aspenroofingandexteriors.com
O’Hara, J.L. How To: Remove Vinyl Siding. (December 30, 2020). Retrieved from Bobvila.com
What Do You Think?
Have thoughts on DIY vinyl removal? We're listening. Head over to Twitter or Facebook,
and use #dumpstersblog to join the conversation.

