How to Demolish a House Yourself
Hit the reset button on your home-life by tearing down your old home to build a new one.
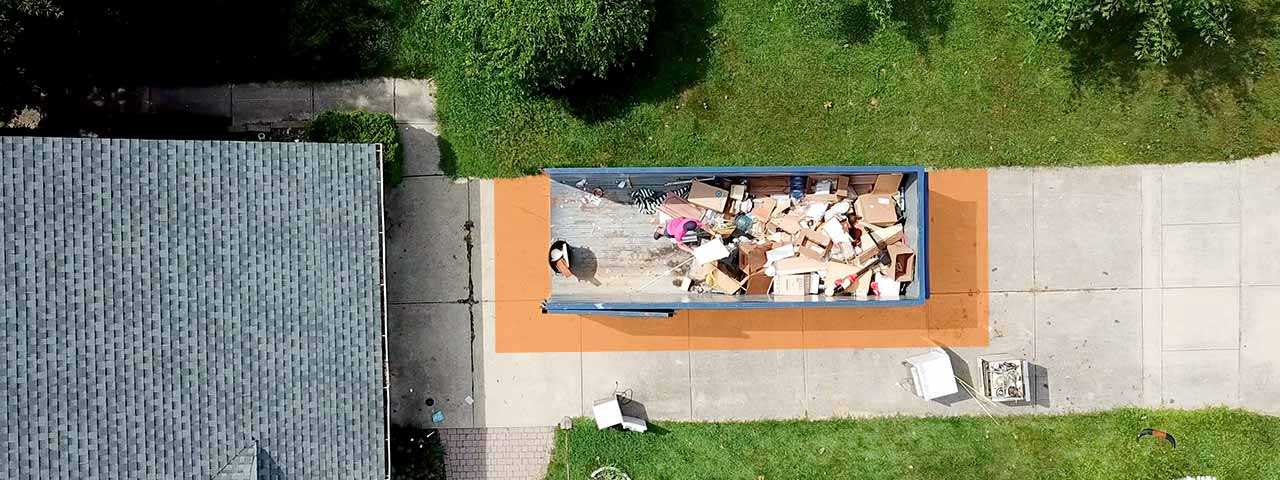
Make cleanup a breeze with a roll off dumpster:

A Comprehensive Guide to DIY Home Demolition
There are many reasons to tear down a house. Maybe you’re simply clearing the way for new construction or there are complex structural issues that would be more expensive to fix than it would be to start over. Whatever the motivating factors are, demolishing a house is a big job that requires a clear plan.
Demoing a house involves two basic approaches: deconstruction and demolition. Deconstruction is the process of removing useful materials by hand, preserving and repurposing resources for later use. Demolition, on the other hand, means the utter destruction of the building, usually with heavy machinery. The debris is often hauled away as construction waste afterwards.
Frequently Asked Home Demolition Questions
How can I order a dumpster for my home demo?
A roll off dumpster is a key piece of equipment for any large-scale demolition. You'll have too much debris to use curbside collection and taking the waste to the landfill yourself would add days to your project.
Order online today.
Should I have my home inspected first?
Bringing in a home inspector to review your home before planning a demolition project is a wise precaution to take. A professional will tell you if your home was built with potentially harmful materials like lead paint or ceiling tiles and insulation made with asbestos, which should be mitigated before home demolition can move forward.
Do I need a permit to demo a house?
Chances are, yes. Most cities, counties and states have specific sets of laws governing DIY home demolition. Your best bet is to reach out to your local government for information. A city legal director or zoning official can tell you what permits you will need and how to get them. It’s important that these guidelines are followed to ensure your home isn’t demolished in an unsafe or irresponsible way. It also saves you from falling victim to fines or legal action.
What is the average cost of house demolition?
The national average cost to demolish a house is $3,000 – $35,000. This figure factors in the cost of professional labor, which may not be a consideration if you do all the work yourself. Another major cost in this process is the rental and use of heavy demolition equipment. Prices for these rentals vary around the country so the price tag of your project may differ.
How do I get trained to use heavy equipment?
In most cases, demolishing a house requires heavy machinery such as an excavator or bulldozer, which can be rented from a licensed dealer. Many equipment rental companies require a certificate of training before they will rent to a homeowner to ensure safe operation. Some rental companies offer in-house training for potential customers as well. If you don’t have the time to get certified, consider hiring a professional instead.
Order a Dumpster Online
Shopping after hours? Too busy to make another call? Book the dumpster you need, when you need it. Order your dumpster online 24/7.
How to Demolish a House Step-by-Step
Ready to get started? Head indoors to start this two-tier project. First, we’ll explain how to deconstruct the interior of your home, remove belongings and salvage useful materials.
Is the home not worth salvaging? Skip straight to the demolition phase to learn how to knock it down quick with heavy machinery.
Interior Home Deconstruction by Hand
Home deconstruction is a labor-intensive process that often comes before complete demolition in an attempt to salvage usable materials from the structure. It also clears the way by removing obstacles and supporting beams from the interior of the house. The best way to go about a home deconstruction project is to tackle one room at a time, starting with the upper floor, if applicable. Here are some basic guidelines to get started.
Step 1: Prep for Demolition
When you’ve decided to demolish your house, it’s time to start planning out your project. There are several preliminary factors to address and preparations to make, as well as an assortment of tools you’ll need. Hand tools are useful for deconstructing the interior of the house, while heavy machinery is better suited for bringing down the structure itself after the interior has been cleared out.

Remove Furniture and Belongings
Before tearing your home apart, you’ll need to dispose of bulky items like furniture, fixtures, decorations, appliances and possessions before proceeding.
Contact Your Lender, if Necessary
If you own and have fully paid off your home, this step won’t be necessary. However, if you still owe a bank or mortgage lender, you will need approval before proceeding with a demolition project. Your lender could also help you secure financing for demolition and rebuilding efforts.
Shut Off All Utilities
Make sure all water, electrical and gas lines running to the structure have been shut off and safely capped. Contact your providers for this step — they may need to send service personnel to your house to ensure all utilities are fully disconnected properly.
Rent a Roll Off Dumpster
Naturally, destroying or deconstructing a house leads to a substantial amount of debris. An easy way to clean up after a this project is to use a demolition dumpster and have the junk hauled away. It’s best to schedule your container rental in advance so it arrives in time for your project, especially if you’re renting additional equipment.
"Know where the water shut off is before doing ANY plumbing work. Turn off breakers and even the main power when doing electrical work. Don’t think you know more than you do. It always costs more to learn that way."
Gather Equipment for Home Demolition
Tools | Heavy Equipment & Safety Gear |
|---|---|
Sledgehammer | Hydraulic excavator or backhoe |
Pry bar | Bulldozer |
Masonry drill | Work gloves |
Reciprocating saw | N-95 mask |
Rotary hammer | Hard hat |
Utility knife | Goggles |
Wheelbarrow | Safety cones |
Chisel or putty knife | Portable fencing |
Shop-vac | Plastic sheeting |
Stud finder | |
Ratcheting tubing cutter | |
Wire cutters | |
Voltmeter |
Need a dumpster to handle the mess?
Get a Price and Place Your Order Give Us a Call to Learn More
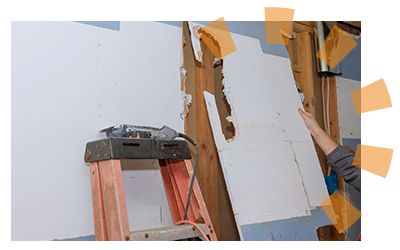
Step 2: Tear Down Drywall
Once the room has been cleared of furniture and fixtures, it's time to move on to the walls and the sub-structures beneath them.
You'll want to start by removing any wallpaper with your chisel and putty knife. Wallpaper can be torn off by hand if loosened from the corner of each wall.
Then, you can begin tearing down the walls. Be sure to locate any load bearing walls and studs ahead of time. You'll also need to be careful not to puncture or sever any wires or pipes within the wall. Additionally, if your home was built before 1978, make sure to take proper precautions to assess your walls for asbestos and lead paint.
"Many homeowners can put sweat equity into their remodeling projects, and this can be accomplished by handling some of the demolition themselves. Cabinetry, floor covering, trim and wall coverings are the easiest materials to remove without being a skilled laborer. When it comes to removing walls, there is invariably wiring and ductwork, which can be concerning. It is also important to be able to identify bearing vs non-bearing walls. If [you] have no idea, it is best to leave it to the professionals."
Salvage Wiring and Piping Where Possible
Copper wire and scrap metal from pipes can be sold or recycled after you’ve finished your home deconstruction. Carefully use your reciprocating saw or ratcheting tube cutter to cut through the pipes and separate metals. Cut the pipes and tubes into smaller sections for easier disposal if you’re not planning to re-use them. Otherwise, attempt to cut large sections that can be kept and repurposed later.
Safety Tip
The electricity in the structure should already be shut off by this point, but be sure to test wires with a voltmeter before attempting to remove them with your wire cutting pliers.
Step 3: Remove Doors and Frames
Use a screwdriver to unfasten door hinges and remove it from the door jamb. The jamb itself can be knocked out of the door frame with a hammer. Once uninstalled, doors in good condition can be sold to building supply businesses or donated to charities such as Habitat for Humanity’s ReStore.

Step 4: Tear Out Flooring Materials
After the interior rooms have been cleared out, start removing any carpets in the upstairs bedrooms and hallways, as well as any tiles or linoleum flooring in the bathrooms and kitchen.
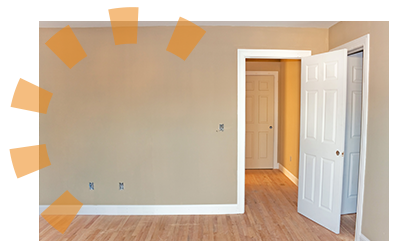
Step 5: Repeat Process in Bedrooms Throughout House
When all construction materials in one room have been removed, move on to the other bedrooms and hallways. Collect piping and wiring along the way and salvage any decorative fixtures as you’re able, including ceiling fans and lighting systems.

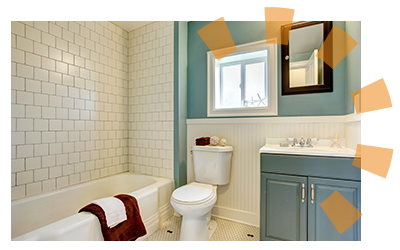
Step 6: Begin Bathroom Demolition
Unlike bedrooms and hallways, bathroom demolition involves several more complicated deconstruction tasks, including the removal of sinks, bathtubs, toilets and other fixtures. Keep in mind that if you keep them intact, they can be used again in the future.
After the bathroom has been cleared of belongings and the fixtures have been uninstalled, get to work removing the flooring materials and deconstructing the walls as outlined above.
Keep in Mind
Make sure you’ve used the main shutoff valve to turn off all running water in the bathroom.
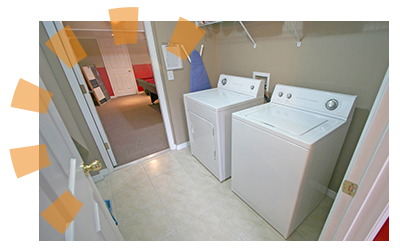
Step 7: Handle the Laundry and Utility Rooms
These areas of the house are likely to have specialized fixtures like sinks, washers and driers, that you’ll want to take the time to disconnect and uninstall properly. Then, you can go about removing cabinets, taking apart walls and tearing up the floors. These cabinets can be reclaimed as scrap wood or even repurposed in a new house if removed intact.

Step 8: Deconstruct the Kitchen and Dining Room
Similar to the bathroom deconstruction process, approach kitchen demolition carefully to safely remove all fixtures and preserve working appliances for reuse.
After the refrigerator, oven and other appliances have been removed, move on to the countertops. These can be taken apart by using a chisel to cut through the caulking material and separate the counter from the wall. A pry bar can then be used to pull the countertop away from the cabinet underneath.
When the countertops have been removed, you’re free to turn your attention to the cabinets, wall tiles and flooring material. If removed carefully, hardwood floor panels can be recycled or salvaged, similarly to your kitchen cabinets. Linoleum is more difficult to reuse, but it’s biodegradable and can be recycled or composted easily.
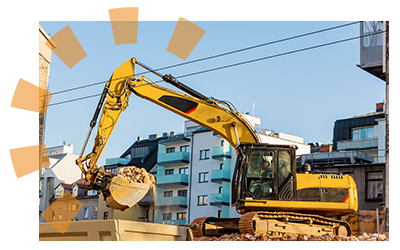
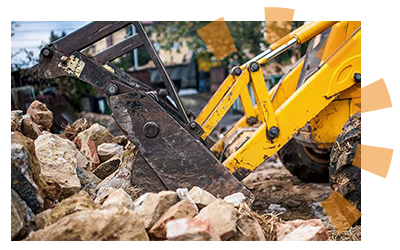
How to Demolish a House Using Heavy Machinery
Either you've salvaged as much material as you think is possible from the inside, or you've decided to not bother with deconstruction and just knock the house down. Whatever the reason, it's time to get to work with the heavy machines to bring the house down.
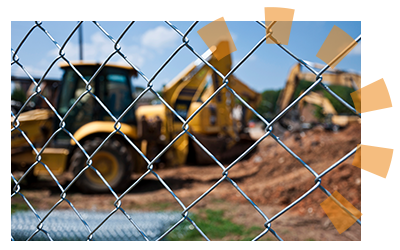
Step 9: Rent the Equipment You Need
At this point, the house should be ready for wrecking. If you’re renting your demolition equipment, rental companies can recommend the right type of machinery for the job and may even offer training.
Step 10: Secure the Area
Before using heavy machinery to demolish your house, you’ll want to establish a safety perimeter around the jobsite with signage, barriers, caution tape and temporary fencing.
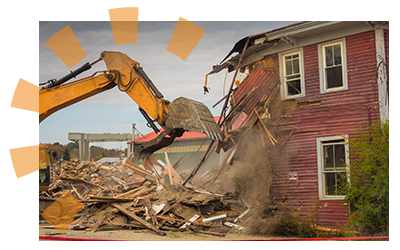
Step 11: Tear the House Down
Generally, a good approach is to use the excavator’s arm to cave in the house’s roof first. This reduces the risk of the building toppling over and causing injury. Then, work your way down by knocking over each wall and caving in each floor. Reduce risk while demolishing the house by pushing against the structure so debris doesn’t fall toward you.
Continue until every floor and wall is leveled. This phase of the process can take several hours, depending heavily on the size of the house and materials used in its construction.
Safety Tip
Goggles, masks and hard hats are a must to keep yourself safe. Also, be sure to throw on your work gloves if you're handling the materials.
Step 12: Clean Up the Debris
It’s time to transport the debris into your roll off dumpster. Most hydraulic excavators and backhoes can be used to scoop and deposit debris into containers for easy disposal.
Alternatively, a bulldozer can push the debris closer to your roll off dumpster, while wheelbarrows can help transport smaller amounts at a time. The debris can then be wheeled into your container or loaded manually.
After the debris is cleared away, the ground around the structure will need to be graded and leveled off. Consider hiring professionals to handle this step.
Keep in Mind
You can use pry bars, rotary hammer, masonry drills and sledgehammers to break large debris into more manageable sizes for transportation into your roll off dumpster.
Flex Your DIY Home Demolition Skills
By tearing down a house yourself, you’ve given yourself a wealth of useful skills that can be put into action in a wide variety of ways. Consider moving on to other structures on your property you no longer need, like your tool shed or patio.
While planning for your home demolition project, it may be worth learning the basics of concrete removal and preparing to deconstruct your patio.
Expert Contributors
Bryce Jacob
Bryce is a certified remodeler with J.S. Brown & Co. Based in Columbus, J.S. Brown & Co is a full-service custom residential remodeling company that aims to satisfy customers by offering a high-quality experience, end result and value. Their staff consists of 27 professionals who are dedicated to transforming homes to increase value and function.
What Do You Think?
How did your home demo go? We're listening. Head over to Twitter or Facebook,
and use #dumpstersblog to join the conversation.