How to Replace Your Gutters: A Step by Step Guide
Tear out and replace your old, broken gutters in one afternoon with our easy guide.
Make cleanup a breeze with a roll off dumpster:
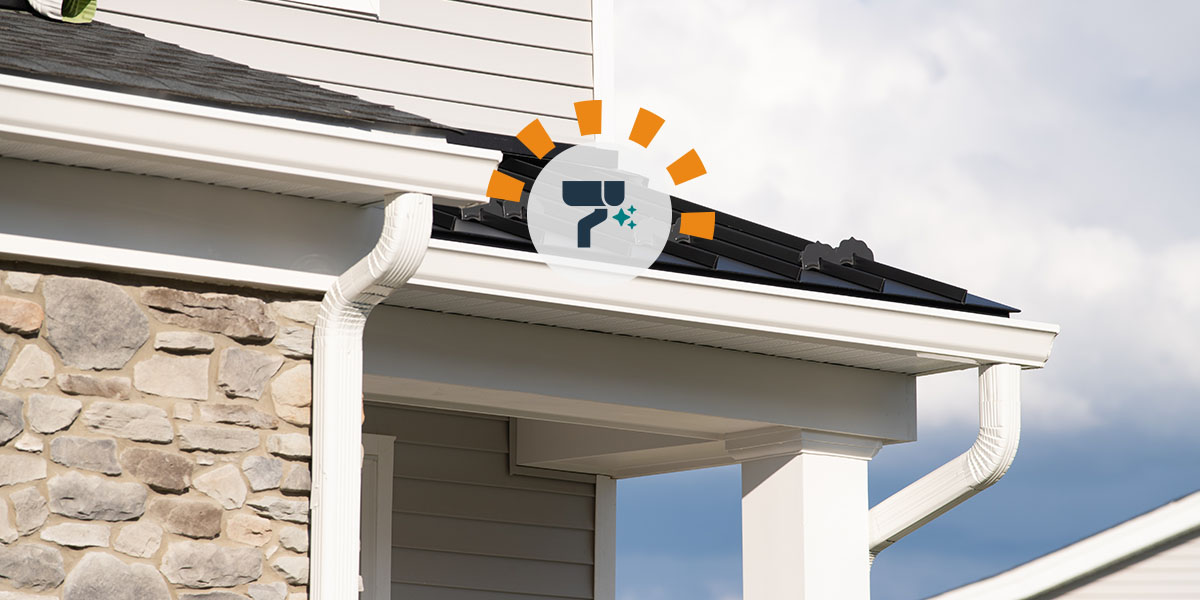
Tips for Safe and Efficient DIY Gutter Removal and Installation
When your gutters let you down and allow rain to pool around your house, it may be time to consider replacing them. But what’s the best way to do that? We’ll walk you through the basics of removing gutters and installing replacements, as well as the tools and equipment you need.
How Often Do Gutters Need to Be Replaced?
Most gutter systems last from 20 to 50 years, depending on materials used and upkeep. Signs you need new gutters include:
- Flaking paint
- Noticeable leaks
- Rust or discoloration
- Sags or detachment from hangers
- Regular clogs from leaves and other debris

Pro Tip
It’s best to look for these signs following a rainy day, when your gutters have been put to the test.
Do It Yourself or Call for Help?
Roof gutter replacement is an intensive process, especially for those not trained in gutter installation. There are several risks involved with DIY gutter tear down and installation, including potential damage to your home’s exterior, as well as safety risks for the people performing the labor. If you choose to hire a contractor, it could still be beneficial to take your own measurements in case your roof needs additional work in the future.
Begin the Gutter Replacement Process
If you have a gutter system that’s past its prime, you need to take some precautionary steps before installing the new one. Follow the tips below to avoid damaging your roof or siding in the process.
Gutter Replacement FAQs
How much does gutter replacement cost?
The average price of new aluminum gutters ranges between $4 to $9 per linear foot, with most projects totaling around $1,050 to $2,400. The cost of gutter replacement is usually calculated by the foot and these costs can vary greatly depending on the materials chosen.
Do you really need gutters on your house?
In most cases, the answer is yes. If you live in a climate that rarely experiences rainfall, a gutter system may not seem necessary. However, regular, or even occasional, rainfall without a gutter system in place can lead to soil erosion and cause damage to your home’s foundation.
Should I get 5- or 6-inch gutters?
The most common types of 5-inch and 6-inch residential gutters can handle the average amounts of rainfall in most areas of the U.S. Houses located in climates with heavy rainfall, as well as those with steeper roofs, may require wider gutters to handle the extra volume.
What are the best gutter materials?
You have a variety of materials and styles to choose from, but most residential gutters take an angular “K-style” shape that feature a flat bottom channel. There are also rounded gutters that complement certain architectural styles. Aluminum is the most common gutter material and is valued for its lightweight durability and ease of installation.
Vinyl gutters are also popular for their rust resistance and tend to be a slightly more affordable option compared to aluminum.
Removing Old Gutters From the House
Now that your old gutters are torn down, it’s time to move on to the new system that’ll keep your home dry for years to come. It’s best to tackle this step soon after removing the old gutters, especially if rain is expected. A home without a functioning gutter system can be susceptible to waterlogging and foundation damage.
1. Gather the Right Tools to Tear Down Old Gutters
It’s important to tackle this project one stage at a time. From safe ladder usage to disposal of old gutters, we’ll walk you through each step of the process.
Tools | Safety Equipment |
|---|---|
Hammer | Work gloves |
Pry bar | Ladder |
Power screwdriver | Partner |
Caulking material | Hard hat |
Tool belt | Goggles |
2. Work From the Ground Up
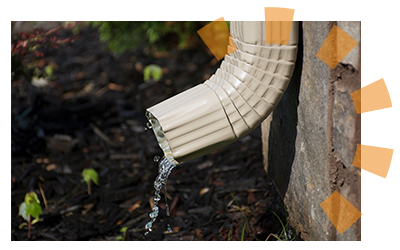
Once your work gloves are on, start working from the bottom. Remove the heavier downspouts connected to the gutters first. This way, the gutters themselves won’t be anchored to the ground when you work at greater heights. Most downspouts can be unscrewed from the gutters and the drain system, but you may need the pry bar to remove them entirely.
3. Detach Gutters From Their Hangers
Now that you’ve removed the downspouts, it’s time to get on the ladder.
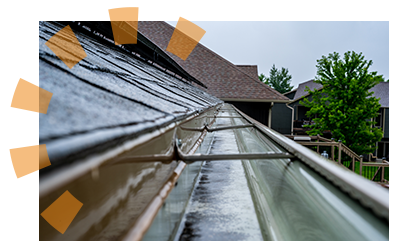
Before you start, make sure to have a spotter to hold the ladder steady. Then, remove each gutter piece-by-piece from their hanging brackets. Depending on how your gutters were initially installed, you may need to pry out nails or rivets in the process. Use the tarp to keep nails, screws, rivets, gutter sections and other debris from littering your yard.
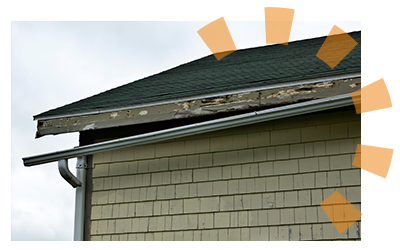
If holes are made in your siding or wooden roof fixtures during the process, fill them in with caulk and make a note to repaint them later if needed.

Pro Tip
Keep a tube of caulk in your tool belt so you can quickly fill holes or nicks while you’re on the ladder.
4. Continue Working Around the House
Repeat the process and work your way around the perimeter of your home, removing each section of brackets, hangers and gutters as you go. Take your time and make sure to move your tarp along with the ladder as you reposition.
5. Dispose of the Debris
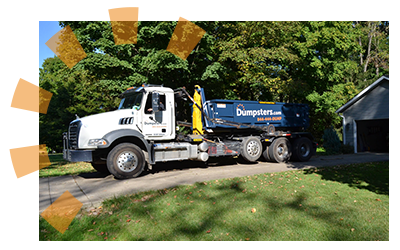
Whether you’re catching your old gutters and assorted debris in a tarp, wheelbarrow or other container, a roll off dumpster is generally the easiest way to get rid of it all. Keep in mind that this type of waste isn’t collected curbside in most cities.
Installing New Gutters Yourself
Now that your old gutters are torn down, it’s time to move on to the new system that’ll keep your home dry for years to come. It’s best to tackle this step soon after removing the old gutters, especially if rain is expected. A home without a functioning gutter system can be susceptible to waterlogging and foundation damage.
1. Gather Materials to Hang New Gutters
Next, gather the necessary equipment and materials to install the new gutters. Luckily, most home improvement stores carry everything you need, including the following:
Tools | Supplies |
|---|---|
Gutters | Work gloves |
Hanging brackets | Ladder |
Nails | Partner |
Hammers | Hard hat |
Downspouts | Goggles |
Corner joints | |
Endcaps | |
Pipe cutter | |
Miter saw (optional) | |
Level | |
Flashing shingles | |
Tool belt | |
Gutter sealant |
2. Take Careful Measurements and Estimates
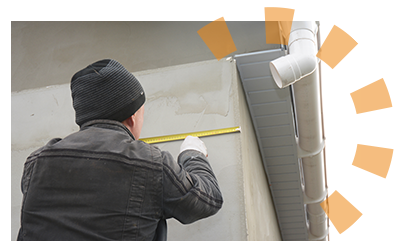
Once you’ve made preparations to replace your gutters, start by taking precise measurements of your roof area to determine what size gutters you need. Plan out where your downspouts will need to go — find areas that allow for the downspouts to divert rainwater directly into a drainage system or storm sewer.
Gutters most commonly come in 4-inch, 5-inch and 6-inch varieties, and can be made from a wide range of materials, including aluminum, copper and vinyl.
To know which type of gutters are best for you, take into account the average amount of rainfall your home receives per year and the overall size of your roof. You can also contact the zoning authorities in your area for more information.
3. Assemble New Gutters Before Installation
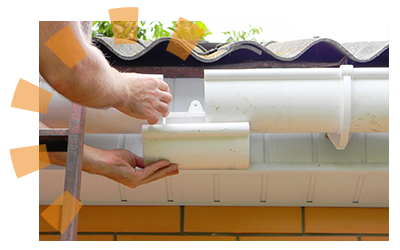
Assembling your gutter sections before installation will save you from having to connect them while you’re working on the ladder.
- Cut your gutter pieces with your pipe cutter or miter saw according to your measurements.
- Connect gutter sections with rivets and use caulking to smooth out the seams.
- Attach your gutter sections to the joints and end caps with gutter sealant.
- Use your pipe cutters or pliers to cut out holes for the downspouts.
4. Install Your Preassembled Sections
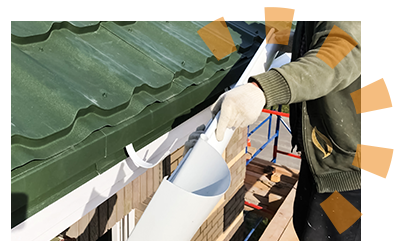
Now that your gutter sections are assembled, start installing them by attaching your hangers or brackets to the wood below the roof and securing the gutters to the brackets. Make sure the downspout locations are set ahead of time so you can line up your pre-cut gutter sections with where the downspouts will need to be installed.
5. Set a ¼-inch Slope While Hanging Gutters
When you start anchoring in the hangers and attaching the gutter sections, use your level to set a downward slope of about a quarter of an inch, with the slope leading toward the downspouts. This will make the middle of the gutter into a highpoint, which keeps rainwater moving toward the downspouts and prevents standing water.

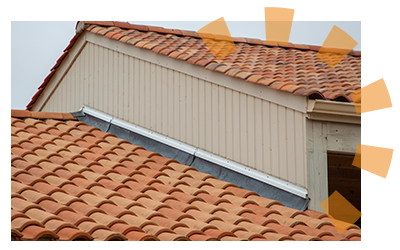
6. Add Flashing for Extra Protection
Flashing and gutter guards are additional components that act as shields to keep leaves and other debris out. These pieces of gutter material are usually installed under the shingles and above the gutters, forming a protective barrier between the gutter and the fascia board behind it.
Worry Less Next Time It Rains
Now that you know how to replace gutters on your house, you’re ready to make a significant investment in the long-term health of your home. While you’re at it, it may be worth it to look into other roofing projects that improve the overall quality of your house.
Read our roofing basics guide for tips and helpful information to help you get started.
What Do You Think?
Have thoughts on the gutter replacement process? We want to hear about it. Head over to Twitter or Facebook,
and use #dumpstersblog to join the conversation.

