DIY: How to Install Wainscoting Panels
Install wainscoting panels yourself, whether you want to protect your walls or simply freshen up a room.
Make cleanup a breeze with a roll off dumpster:
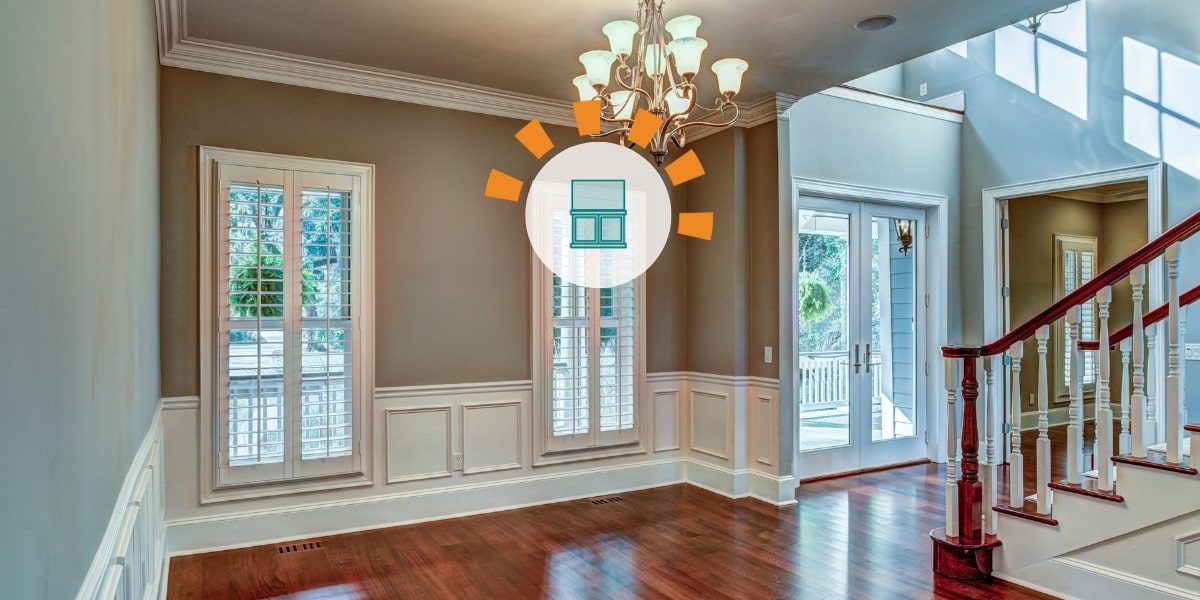
Try Installing Wainscoting to Add a Touch of Sophistication to Your Home
Enjoy the look of crown molding and trim, and wish you could add something similar to your bare walls? Wainscoting might be the decorative flair you’re looking for. This wall covering is a great way to enhance the look of any room, and is relatively easy to add. We’ll help you find the right rooms in your house for this artistic décor, along with Rosie Romero from Rosie on the House, and show you how to install wainscoting in just a few simple steps.
Wainscoting FAQs
What is wainscoting?
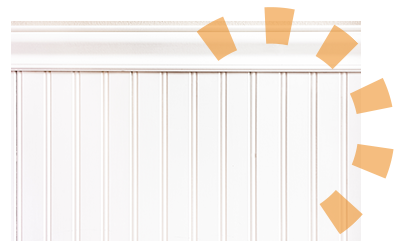
Wainscoting is a term used to describe decorative boards or panels placed less than halfway up a wall. Before the 20th century, people used wainscoting to protect the underlying plaster from wayward boot spurs and scabbards. Today, wainscoting is more valued for its decorative features but still offers plenty of protection against scuffs and muddy shoes.
How much does wainscoting cost?
- Medium-Density Fiberboard: $8 to $18 per square foot.
- Unfinished Oak: $13 to $24 per square foot.
- Stained Oak: $20 to $31 per square foot.
- Unfinished Maple: $14 to $30 per square foot.
- Stained Maple: $20 to $37 per square foot.
- Unfinished Cherry: $13 to $34 per square foot.
- Stained Cherry: $21 to $41 per square foot.
Where should you install wainscoting?
You can install wainscoting on practically any wall in your house, but these are the most commonly chosen rooms:
- Entryways
- Hallways
- Stairwells
- Dining Rooms
- Living Rooms

“The formal dining room or office look will come off well with Walnut or Cherry wood in a raised panel. Casual breakfast nooks and sun rooms can be pulled off with distressed vertical bead board. Kitchens, wet rooms and bathrooms are great applications for waterproof wainscoting done in ceramic tile.”
How to Install Wainscoting
1. Gather Your Tools
Getting your tools and supplies together before starting will make for an easier installation.
Wainscoting Installation Tools and Supply List
TOOLS | SUPPLIES |
|---|---|
Caulking gun | Safety glasses |
Paint | Protective gloves |
Adhesive | Pencil |
Clamps | Tape measure |
Circular or miter saw | Sandpaper |
Jigsaw | |
Laser level | |
Nail gun* |

Pro Tip
Home renovations can leave a lot of debris in your way, even if it's only one room. Look through our construction debris disposal guide to easily get rid of your DIY project materials.
2. Determine the Layout of Your Wainscoting
Spread your panels out on the floor to determine how each piece will fit together. You should also use this time to figure out how many cuts you’ll need to make to fit around corners and outlets. Measure the height of your wainscoting panels and mark it on the wall with a pencil. Use a laser level to help you mark the height across the entire perimeter of the room. Alternatively, you can mark the wall using a chalk line — a handy device for drawing straight lines.

"Generally, you will start in the center of the room, determine what size panels fit the area and center the first panel. Then working out to each corner repeat the panel size until you get to the corners. Each end of the wall will generally have smaller panels than the field...You will quickly realize the smaller corner panels won't match on each wall. If you desire a match, you will have to start playing with the dimensions for the panels on each wall."
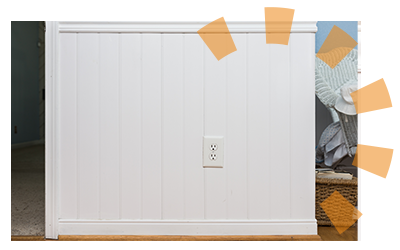
3. Make Room for Power Outlets
Use a jigsaw to carve out spaces for any outlets your panels will cover. Mark the dimensions of the outlet on the board, then clamp it to your cutting surface. Push the blade of the jigsaw into the material, guiding the saw with both hands as you follow the outline.
4. Install Base Molding
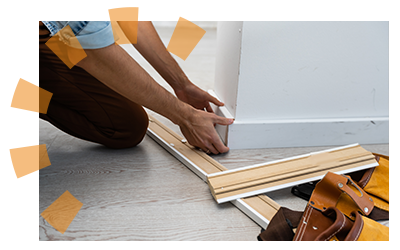
If your wainscoting design includes base molding, install those pieces before the panels. Apply adhesive to the backs of the baseboard pieces in a zigzag pattern and press them firmly into place. Cut the ends of corner pieces at a 45-degree angle so they fit together once installed. Depending on the manufacturer’s guidelines, you may be able to nail the molding in place for additional security.
5. Install Wainscoting Panels
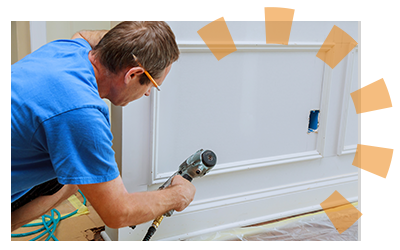
Next, apply adhesive to the backs of each wainscoting board before pressing them onto the wall. Check the height of each board to make sure their tops line up evenly. If your panels use a tongue-and-groove system, double-check that each one is joined correctly before securing in place. Then, use a nail gun to mount each panel in place following the manufacturer’s spacing guidelines.
6. Cut Corner Panels to Size
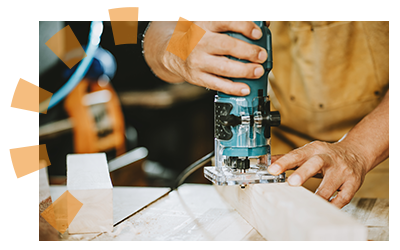
Before installing wainscoting around corners, measure the distance between the last panel and the corner on each adjacent wall. Then, mark up two panels with the necessary dimensions before cutting to size with a circular saw. Make sure the panels are clamped down before making your cuts.
7. Install Trim and Add Finishing Touches
If your design includes additional trim, such as a chair rail, follow the same instructions you used to install the baseboard molding. Once finished, it’s time to put your nose to the grindstone. If you haven’t already, take your time filling in every last gap and seam in your wainscoting before painting or staining. This methodical approach will ensure a blemish-free finish once you wrap up your wainscot installation.
Now That You're an Expert in Wainscoting
Wainscoting is just the beginning. Find out more DIY remodeling projects so you can upgrade other rooms in your home on a budget, like how to remove a countertop for a kitchen remodel and plan out your laundry room renovation.
Expert Contributors

Rosie Romero
Rosie is the host of Rosie on the House, a radio show for home-improvement advice on stations throughout the Phoenix area. When he isn't on the radio helping out homeowners, Rosie is traveling around the country sharing his two decades of experience with others in the remodeling industry.
What Do You Think?
Have thoughts on installing wainscoting? We're listening. Head over to Twitter or Facebook, and use #dumpstersblog to join the conversation.

